Sharing Recipes, Reviews, and Real Good Food!

Saturday, January 5, 2013

Wowza, it's been a long time since I've blogged. One of my best friends, Zoe, pointed out that I hadn't blogged all semester (oops...). I've been cooking, don't worry - but it's usually a study break and then I have to get back to work. Maybe this will sprout up a bit more once I'm an MD...but don't hold your breath ;)

Noah's housemate, and our good friend, got me a cookbook for Christmas that has recipes from a local bakery...so far I've made the banana bread (which I didn't get to eat since I made it right before we left Noah's ski house)...so I'll try to document some more soon!


Just wanted to let you know I didn't fall off the face of the planet :)

-C

Tuesday, July 31, 2012

Chicken with White Wine Sauce and Raspberry Vinagrette

I know, I know...it's been WAY too long since I've shared any recipes. That's not to say we haven't been cooking, but working 40+ hours a week in a preschool is certainly exhausting (I've been saving my energy for the actual cooking). (P.S. I thought I posted this about two weeks ago. I don't use my computer a lot during the summer, so when I turned it on today, it was still on the page where I'd written the post! - OOPS!) Sorry, y'all!

Anyhow...

We're getting pretty good at making quick and easy meals, and have been using the gas grill quite a bit (which is convenient since Noah is in charge of that!) ;).

A few nights ago, we decided to use up some chicken we'd bought, and the half bottle of white wine left in the fridge from quite a while ago.


Super easy recipe for Chicken in White Wine Sauce (Source):


 Combine 2 tbsp flour, 1/4 tsp each salt, paprika, and ground black pepper in a shallow dish, then coat the chicken in the mixture. (Side note: to save time, we cut the chicken into bite-sized-ish pieces). Heat a little olive oil in a pan and cook the chicken, then add 1/2 cup of white wine and 1/2 cup of chicken broth. Bring it to a boil, sprinkle a few teaspoons of grated parmesan cheese, and serve with rice or pasta (we chose Bertolli cheese tortellini).


I also made a yummy Raspberry Vinaigrette Dressing (Source) with some fresh raspberries we'd bought that were a bit too soft to eat:

Add 1/2 cup raspberries (fresh or frozen), 1/4 cup apple cider or balsamic vinegar (I used apple cider because I had it on hand), 2 tsp sugar, and 2 tsp dijon mustard (or 1 tsp dry mustard) to a blender and puree until smooth. Slowly add 1/4 vegetable oil until well combined, and add salt and pepper to taste. (For the record, I added the oil with all the other ingredients and it came out fine!)

Enjoy!

-C and N

Thursday, June 14, 2012

Swirly Rainbow Cake!

This week is my last week at home before I start my job in Somerville, and it conveniently coincides with the birthdays of some of my BEST friends in the whole world - Ashley and Grace! :)


For our last minute get together, I decided to make a refined version of my Rainbow Cake with Heaven Frosting, using only one box of cake mix instead of two (it was way too much cake for four people and I didn't want any to go to waste!).

I started off making one box of white cake.


Then, I separated the batter into six bowls (a lot of this is similar to the original Rainbow Cake, just on a smaller scale), and dyed the batter six different colors (I again used red, orange, yellow, green, blue, purple...but you can of course switch it up!).


Then (Noah's idea), I swirled two colors together in each cake pan (purple/blue, yellow/green, orange/red). To do this, I made a separator out of the cake box (clever, I know) and tin foil. Fold the box as if you are going to recycle it, then cut the top off...this fit perfectly in my 9" round pan. Then I covered it in tin foil and sprayed it with a little nonstick spray.


I then put it in the middle of the pan, stood it up with the can of frosting (you can use anything...), and poured one of the colors into one side of the pan! 


Then I poured the next color (in this case, blue!)


I then swirled the colors together using a butter knife, like so:


After that, I also dragged the knife from side to side to get a bit more color on each side!


More swirling pics: 


(The orange and red kinda looked like one color, but that's alright!)

Then I popped them in the oven for about 11-12 minutes each, and let them cool before frosting them with Pillsbury Whipped Dark Chocolate Frosting :) mmmmm, chocolate!

P.S. It's okay to have mishaps when you're cooking...the one below was NOT fun...but I managed to salvage it and it turned out beautiful! :) ("If you don't laugh, you'll cry...")


Grace and Ashley's fave candies are the sour neon crawlers and Sour Patch Kids, respectively, so I decorated the cake with those!


The cake was a huge success and delicious (although a bit odd with the sour candies!), if I do say so myself! The girls enjoyed it too :) LOVE THEM!


Aren't they beautiful!? Those are my gals! :) 

Happy baking, y'all!
-C

Thursday, June 7, 2012

Cake Balls! (Memorial Day Style)

I made these for a party at Noah's aunt and uncle's house, and let me tell you...they were a hit! A bit time consuming, but totally worth it!


I started off baking a Pillsbury Stars & Stripes Funfetti Cake Mix - my favorite brand for cake - it's really moist because there's a cup of pudding in the mix!


After the cake has COOLED (you'll want to do this completely)...cut it up into four pieces, then crumble it into a bowl. TIP: I cut off the pieces where the cake had browned (sides and bottom), because those pieces didn't crumple very well! 


After your bowl looks like the one above, you add about 3/4 of a can of frosting and mix it until the cake is pretty moist and "doughy".


Then, make little cake balls out of the cake and frosting mixture! TIP: use a cookie dough scoop - it'll make your life SO much easier (and it's a great tool to have around when you make cookies!)


Then let the balls chill on wax paper either in the fridge for a few hours, or in the freezer for 15 minutes (don't leave them in for too long, you don't want them to freeze, just to stick together a li'l better!).


When they're done, it's time to coat them in chocolate and decorate! Melt chocolate and adorn with sprinkles, M&M's, maybe a little coconut or nuts!? Whatever your heart desires!
I used a spoon to roll the balls around in chocolate!


And the final product (presentation is everything!)


They were a huge hit! These are a must try for any party or get together - people will be impressed! Enjoy!

-C

Thursday, May 31, 2012

Rainbow Cake with Chocolate Heaven Frosting

Well one thing's for sure - your dad only turns 40 once! So, I had to go all out on the cake this year! Don't worry - it looks really difficult, but it really wasn't! Noah and I had a blast making this cake!


First, I make TWO boxes of Pillsbury's White Cake - yes, two boxes - it's a HUGE cake! Made with my dad's farm-fresh eggs, of course! I really love their cake because it has a cup of pudding in the mix for extra moist cake! :)


Next, I separated the batter into six bowls (yep, a lot of dishes!).


Then, I dyed the batter six different colors with gel food coloring (the liquid might work, but I've heard it isn't as bright!). I went classic rainbow (purple, blue, green, yellow, orange, red), but you could also do neon, or just pick your favorite colors!

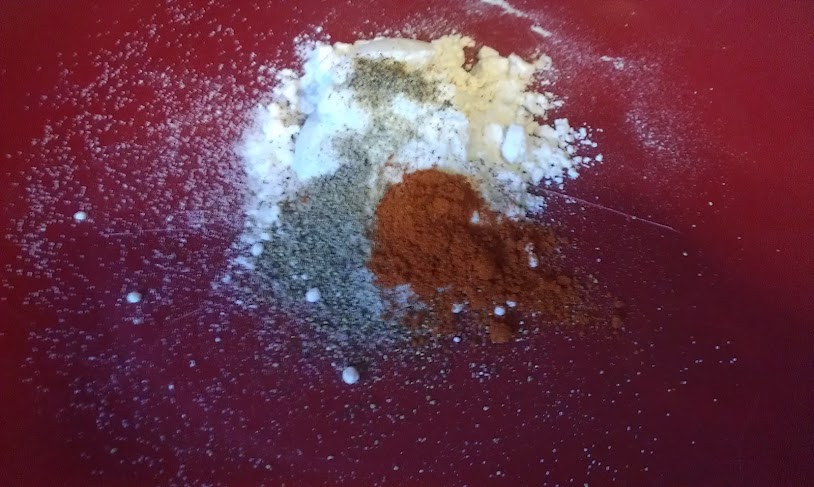
A cool tip for colors that are made of more than one primary color: get the proportions by drawing lines, like I did here for purple!


I only had three round cake pans, so I had to cook two batches. After spraying the pans with Pam made for baking, I put them in the oven for about 11-12 minutes each (until a toothpick put in the center of the cake came out clean!).


I then let them cool for about 15 minutes, then cleaned the pans and did the next batch!


While the second batch was cooling, I started on the amazing frosting recipe! Really - you're going to LOVE this frosting...it's not too sweet or overpowering, but it's mostly chocolate so it's super decadent! Plus, as dad pointed out, it's the perfect slightly "gluey" consistency to keep the six layers together!

For the frosting, you will need:

  • 1.75 cups whipping cream (heavy cream)
  • 3/4 cup unsalted butter
  • 6 tablespoons unsweetened cocoa powder
  • 4.5 tablespoons light corn syrup
  • 16 ounces bittersweet or semisweet chocolate (we used bittersweet) (2 2/3 cup of chocolate chips)
  • 1.5 tsp vanilla extract
  • 2 tbsp powdered sugar, more to taste (we did about 6)


First, whisk first four ingredients in medium saucepan over medium heat until butter melts and mixtures comes to a simmer


Then, remove saucepan from heat and add chocolate and vanilla extract, whisking until chocolate is melted and smooth. Add confectioner's sugar until satisfied with the sweetness of the frosting.

Lastly, refrigerate frosting until slightly thickened but still spreadable, stirring occasionally. About 1-1.5 hours...


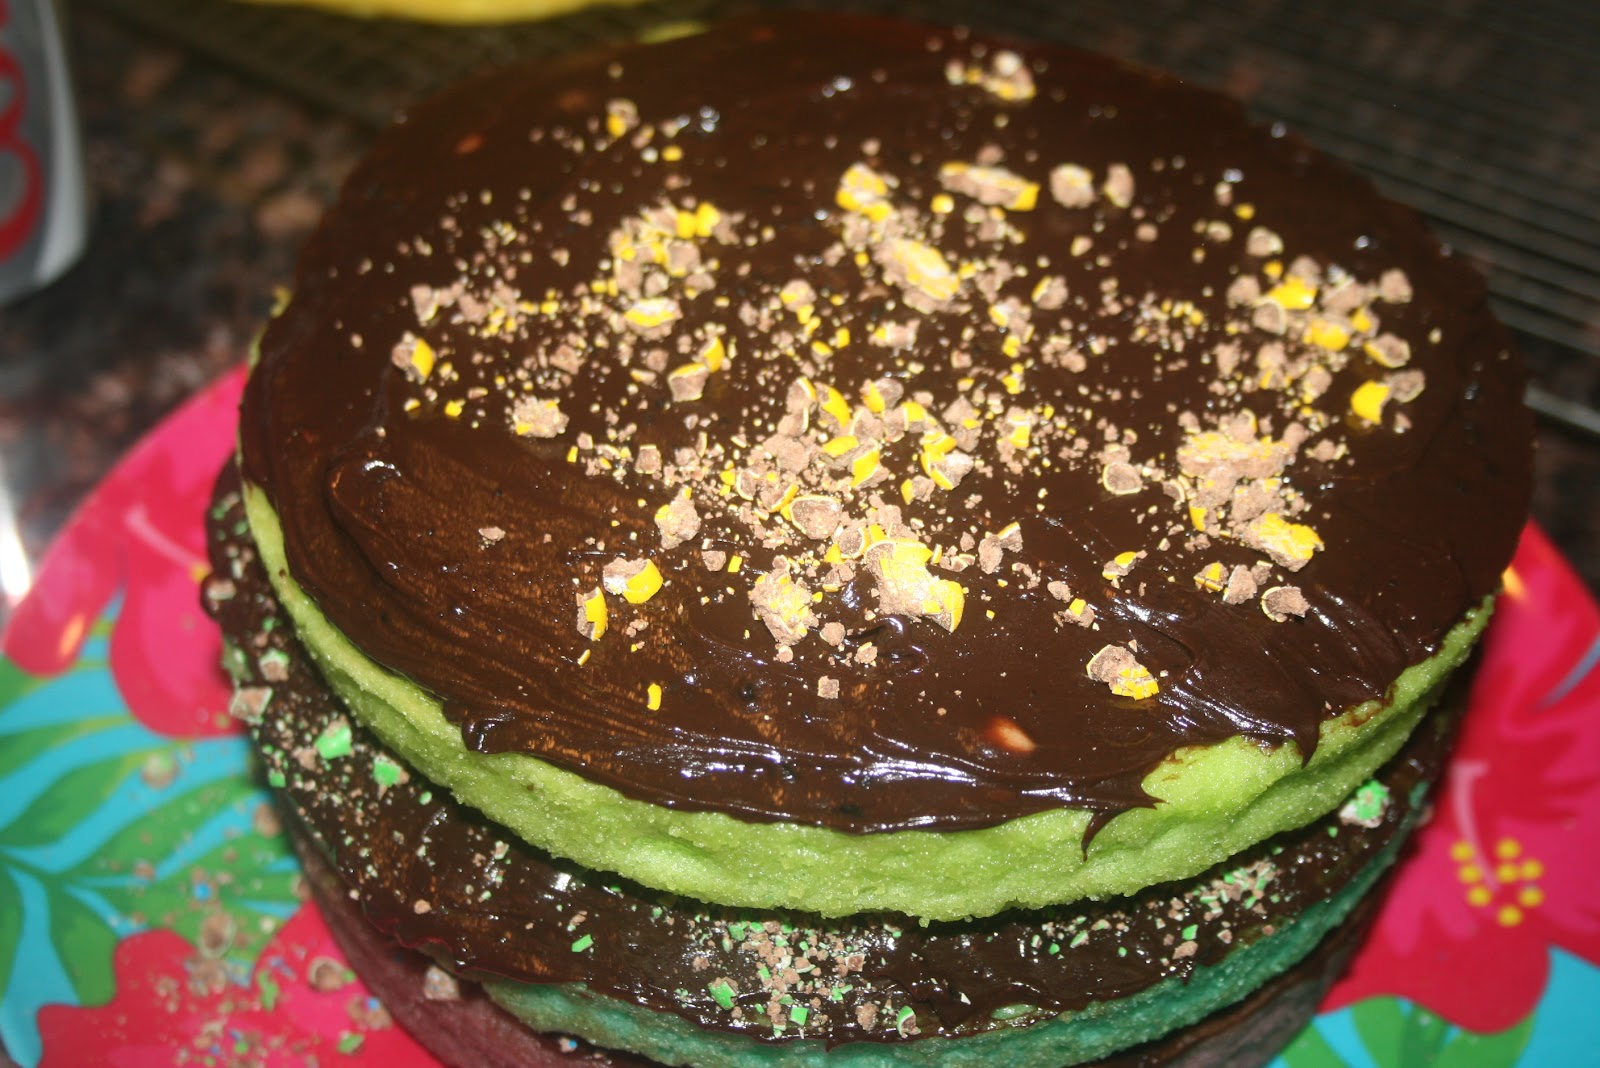
After the cakes are cooled, you simply stack them in the order you'd like your rainbow to go (I went red to purple from the top down), and put a layer of frosting in between while stacking! I even put a little surprise in between the layers...crushed M&M's! Originally I wanted to use them for decoration, but I thought it'd be a nice touch inside the layers. In reality, you couldn't reeeally taste them, but it was a cool idea anyway! I'd suggest putting more M&M's if you'd like to get the full effect :)


Now for the decoration:

Betty Crocker Frosting. Your best friend here if you want to look super professional. I made flowers with leaves from the tips that come with the package when you buy them! The instructions are on the back of the can, and it's SO much easier than it looks, and comes out awesome! It's a nice touch to the cake to disguise it as just a normal cake - no one is expecting a rainbow to come out of there!


Next comes the worst part: waiting for the birthday boy or girl to EAT the cake! I was looking forward to seeing my dad's reaction all day! (Plus, I wanted to get my inside-the-cake shot for the blog!) It was so worth the wait - I got a great reaction, and the cake was absolutely delicious (if I do say so myself!).


I hadn't seen a rainbow cake with chocolate frosting online at all, but boy am I glad I tried it...mmmmmmm good!

Happy baking!

-C (and N, it was his chocolate frosting recipe after all!)

Special thanks to Lori (Noah's Mom!) again, for letting me borrow the camera for these great shots!! :)